# Edit Online Form
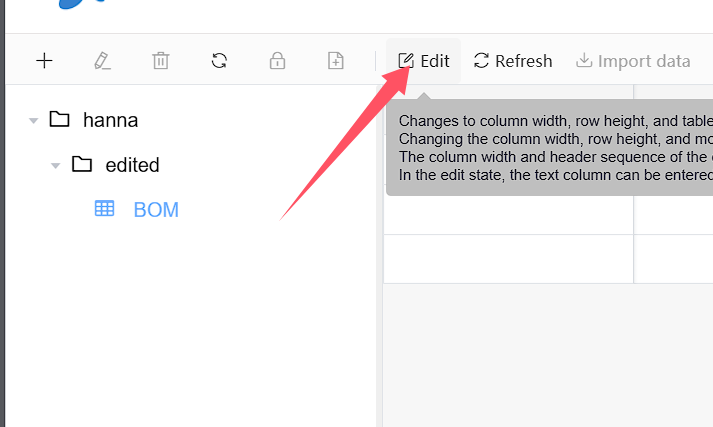
To edit a table, the current user first needs to put the table in editing mode. Click on the table to be edited in the online table list on the left, and then click the Edit button at the top of the table workspace on the right,Keep the current table in the current user editing state
# 1.Insert column
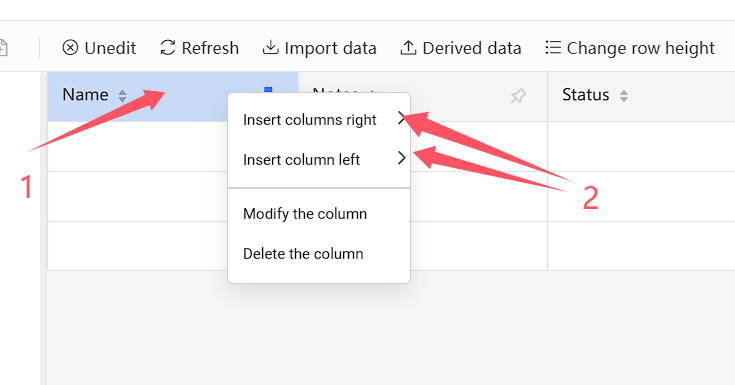
Right click in the column name area at the top of the table workspace, click to insert an image or file column to the right or left, and a column insertion window will pop up. Enter the column name and click the Confirm button, New columns are inserted into the table
Column names cannot be empty
# 2.Edit column
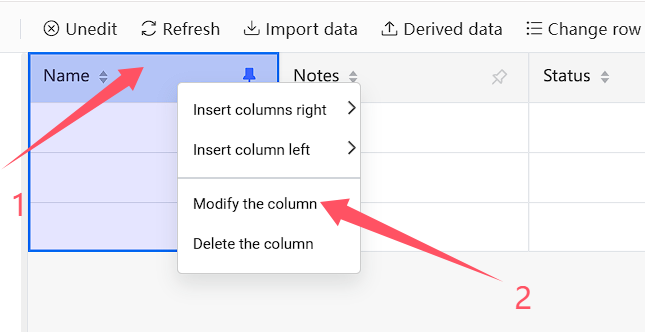
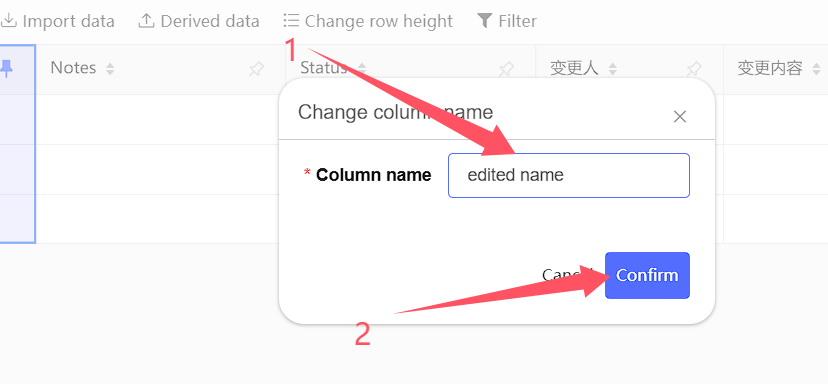
Right click on the column name of the column to be modified in the column name area at the top of the table workspace, click on the option to modify the column name, and a window for modifying the column name will pop up. Enter the column name and click Confirm, column name modified
Column names cannot be empty
# 3.Delete column
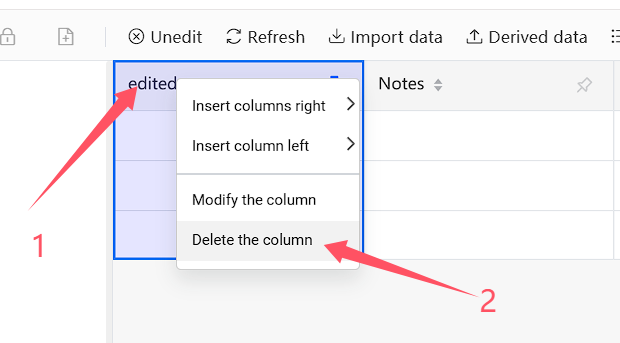
Right click on the column name of the column to be modified in the column name area at the top of the table workspace, and select the option to delete the column. The column will be deleted
Attention!!! Deleting a column is an extremely dangerous operation, and the data cannot be retrieved after the column is deleted. Please proceed with caution
# 4.Insert row
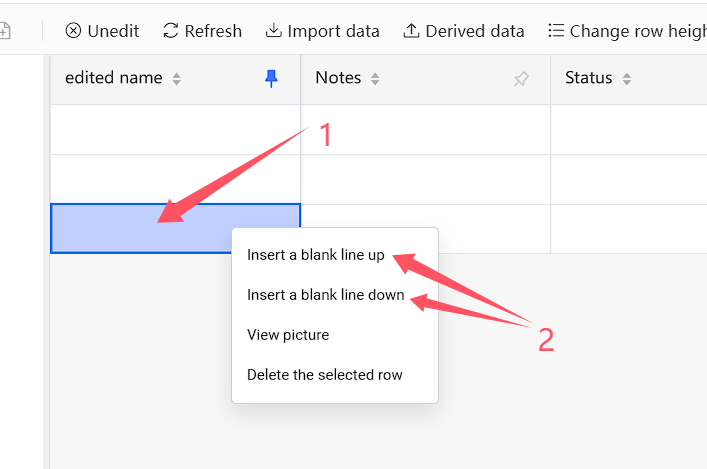
Click on any cell in the row where you want to insert a row, right-click on it, and select Insert a blank line up or Insert a blank line down to insert a blank row above or below the selected row
# 5.Edit cells
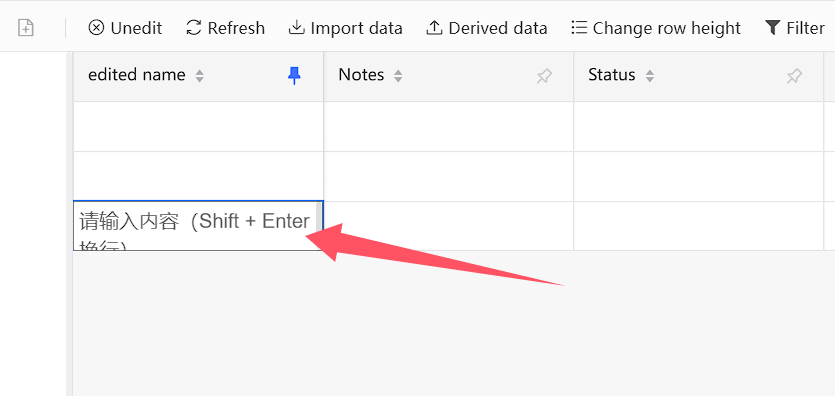
Before editing a cell, please make sure that row editing is enabled in the current table or that the current user is the creator of the row in which the cell is located. Double click the cell, and when the cell is in a state of waiting to be edited, edit the cell content, and then click end cell at any position of the table, awaiting editing status
Cell content supports line wrapping, using Shift+Enter key to wrap within the cell
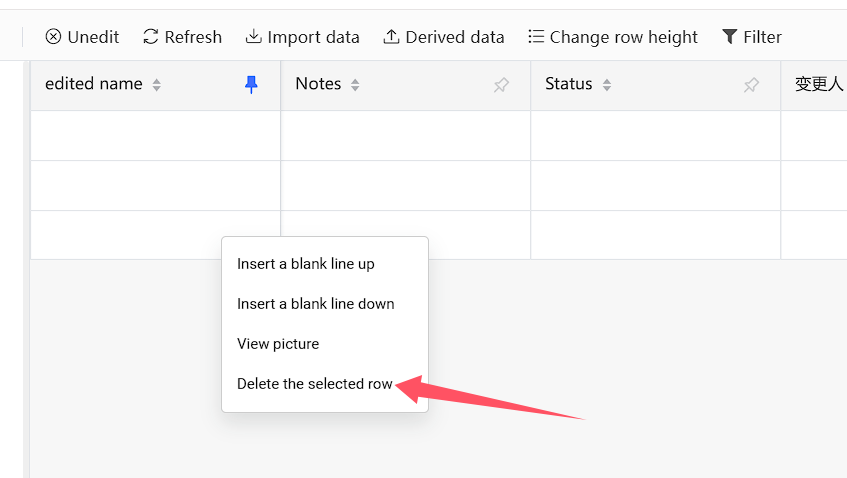
# 6.Delete row
Click on any cell of the row you want to delete, right-click, and click the Delete the selected row. The selected row will be deleted
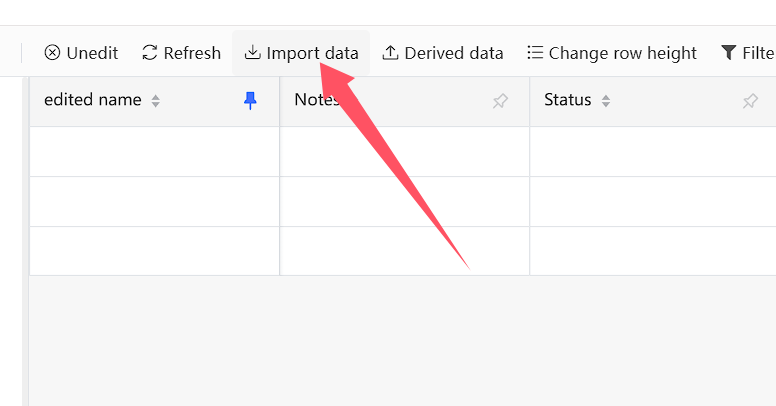
# 7.Import data
# 7.1 Incremental import
The online spreadsheet supports incremental import of Excel data. Click the Import Data button at the top, select the import method as Incremental Update, choose the Excel file, wait for a successful operation prompt message, and the incremental updated data will be appended below the current online spreadsheet
The imported Excel table header should be consistent with the online table header
The incremental update method will not make any changes to the existing data in the current online table, only append data at the bottom
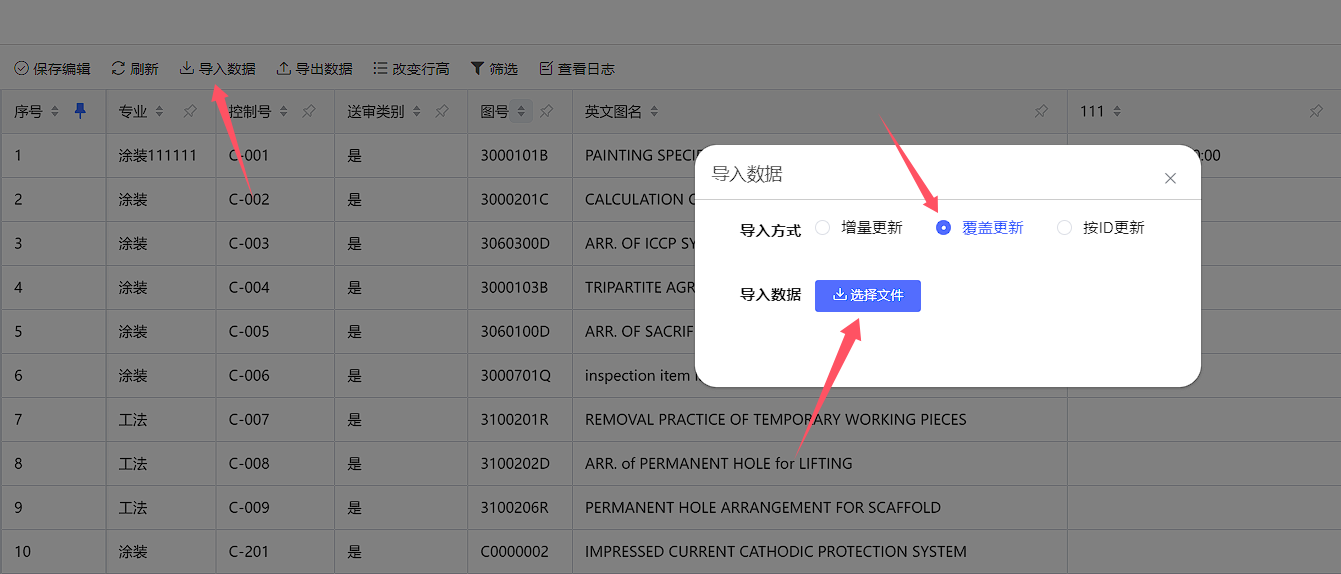
# 7.2 Overwrite import
The online spreadsheet supports overwriting imported Excel data. Click the Import Data button at the top, select the import method as Overwrite Update, choose the Excel file, wait for the successful operation prompt message, and the overwrite update will overwrite the original data in the online spreadsheet with the data in the imported Excel
The imported Excel table header should be consistent with the online table header
The overwrite update method will overwrite the original data of the current online table, and once overwritten, it cannot be revoked! Please operate with caution
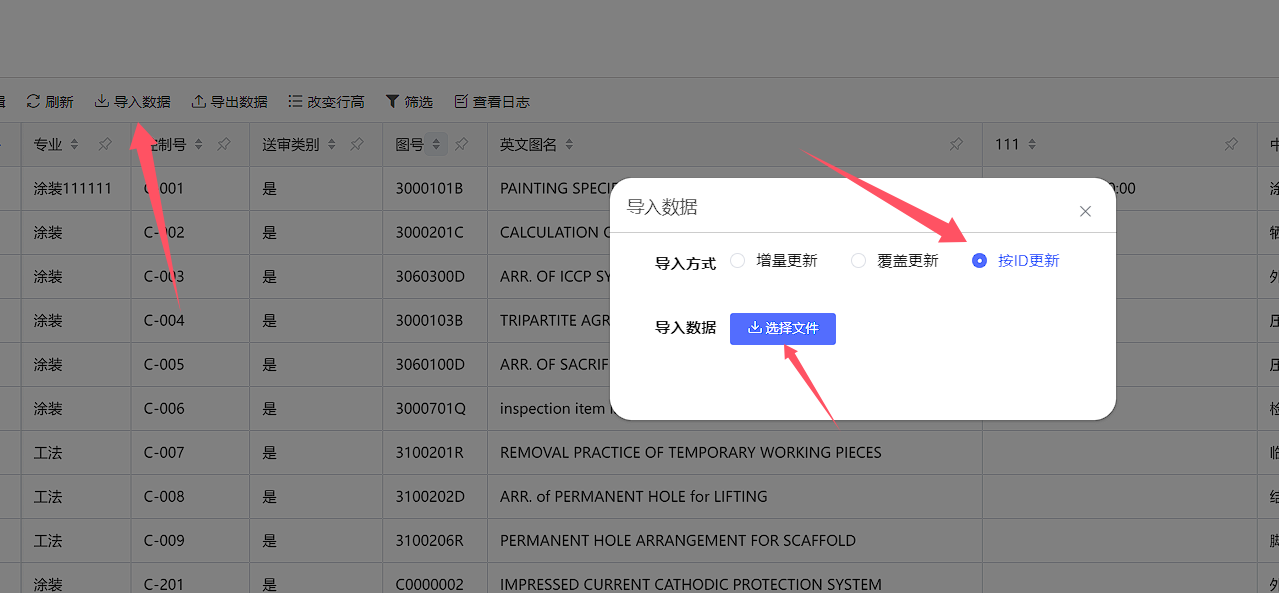
# 7.3 Update by ID
The online spreadsheet supports updating and importing Excel data by ID. Click the Export Data button at the top to edit the downloaded Excel spreadsheet, then click the Import Data button at the top, select the import method as Update by ID, select the Excel file, and wait for a successful operation prompt message. Updating by ID will only update the modified data in the Excel spreadsheet to the online spreadsheet
Updating by ID requires exporting data first, editing the exported Excel sheet, and then updating and importing by ID
If the row ID in the Excel table already exists in the system, the data of the corresponding ID row in the online table will be updated according to this ID
If the row ID in the Excel table is empty or does not exist in the system, this data will be appended to the online table
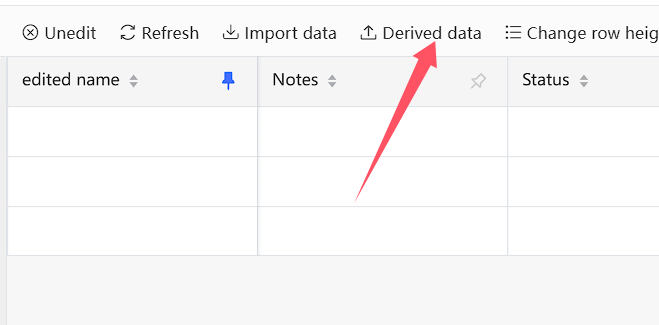
# 8.Derived data
Exporting data is to export the entire online spreadsheet as an Excel file. Click the Derived data button at the top and wait for the browser to download it
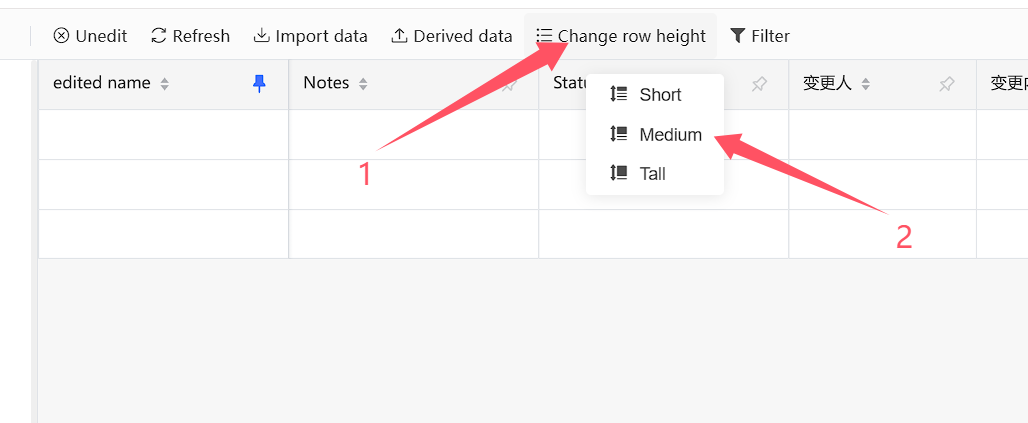
# 9.Change row height
Online table row height supports changing to short, medium, or high row height states. Click the * * Change row height * * button at the top and select the corresponding row height option
If the row height is set in the editing state of the table, it will be synchronized and saved to the table properties. If the row height is set in the viewing state of the table, it will not be synchronized and saved
# 10.Set column width
The column width of online tables can be modified by dragging. Move the mouse to the boundary of the column, and when the cursor is in the dragging state, press and drag the cursor to change the column width
If the column width is set in the editing state of the table, it will be synchronously saved to the table properties. If the column width is set in the viewing state of the table, it will not be synchronously saved
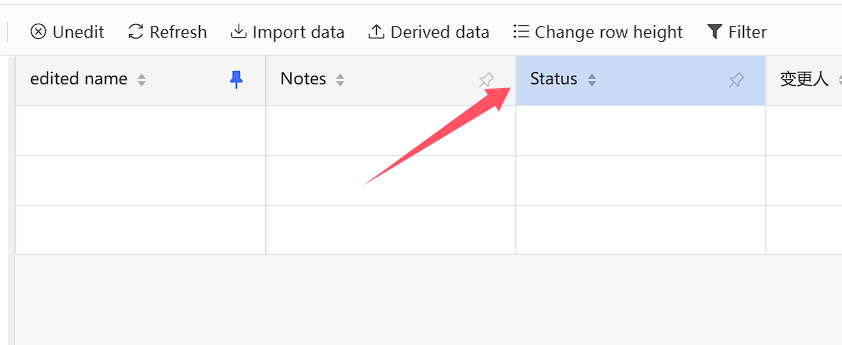
# 11.Set fixed column
Online tables support setting fixed columns. After setting fixed columns, the columns from the first column on the left to the fixed columns will always be displayed on the screen without being controlled by the horizontal scrollbar

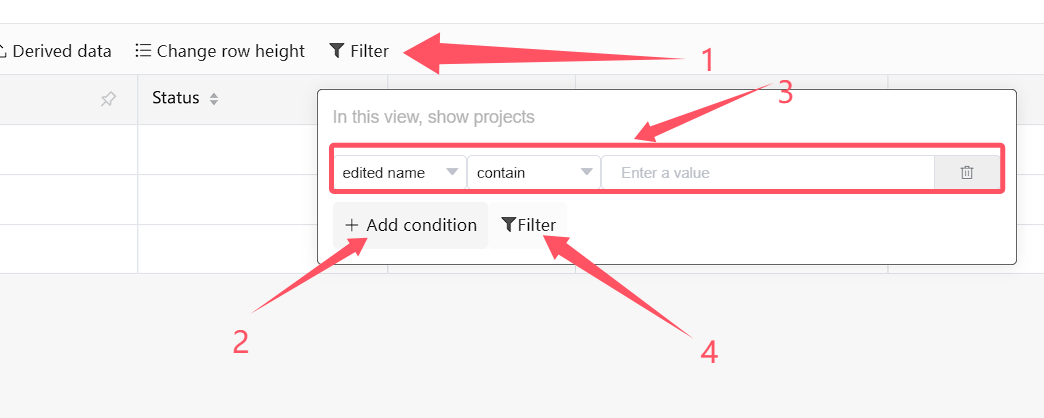
# 12.Filter
Click the Filter button above, click the Add Condition option to add a new filter condition, click the drop-down box to set the filter condition, and then click the Filter button. The page will filter and display data that meets the filter condition
The filtering conditions support the combination of multiple filtering conditions
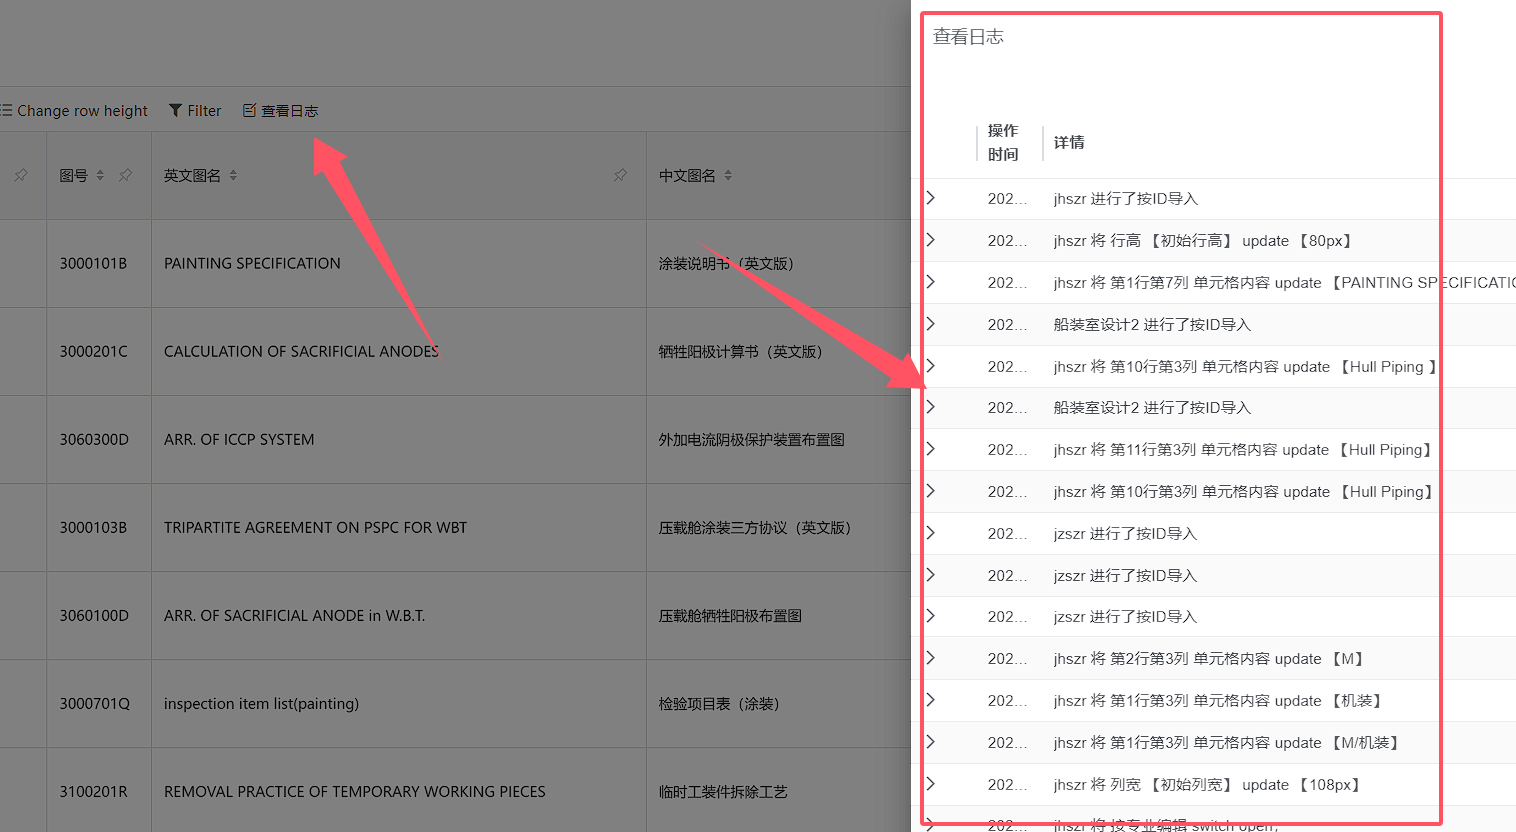
# 13.�鿴��־
Click the Log button above to view the operation log of the current online table